1st Collected batch of 2016

Here are the trees that I have collected thus far. Yes I used thus.

IMG_0449

small Hornbeam with a companion that I can’t identify yet

IMG_0448

bad picture but this is a strange Larch that I think can make an interesting bonsai tree in the future

IMG_0454

The gem of the year so far. Look at the structure! It’s as if someone was already preparing it, the straight cuts are obviously freshly done by me

IMG_0455

I have been cutting and preparing this tree for 2 years now. This was my hardest dig so far; I hope it survives. This could be a great tree in the future. As of now it looks ugly

IMG_0445

Linden #1 That I also cut the previous year

IMG_0456

Linden #2

Now I just hope that they all survive collection.

Have a good day!


Larch #1 re-pot and progress

I can’t remember where I heard or read this but a well known bonsai artist was asked what their favorite species to work with was. Their reply, “Larch… Larch… and Larch.”

Larch are God damn fantastic. They have the rough characteristics of conifers but they change with the seasons like deciduous trees, so you get a bonus!

Here is another profile of a small tree that my friend told me not to waste my time with but I just couldn’t resist and I wanted to have a small larch ready to work on. So I bought it.

1st

As purchased. It probably wasn’t watered much or fertilized because of the small needle length. This is cute and all but if we want to develop a tree this is not ideal.

DSC_0238

I trans-planted it into a larger pot and let it grow freely with fertilizer that summer. This means that I did not disturb the roots, if I did then the tree could easily die. This picture is before the next growing season before styling

March 17 front2

After styling. A bit weird but that’s fine by me. A re-pot was done a couple months later as the buds began to come alive. The reason for this small pot was that I was hoping to show this tree at an exhibition as a accent but that did not end up happening

IMG_0516

After another successful growing year. Not much difference. This was due to cutting many of the extending buds because I was hoping to show this as an accent that summer

IMG_0518

IMG_0517

The root situation wasn’t ideal. So the decision was good to re-pot into something with more growing space

IMG_0530

The end result with another pot made by Jiri Svacina. I choose this pot because I thought it could prove to be an interesting combination. I will let the tree grow freely this year for a change and the wire will have to come off this year

Cheers!

Thomas


Larch #2 re-pot and progress

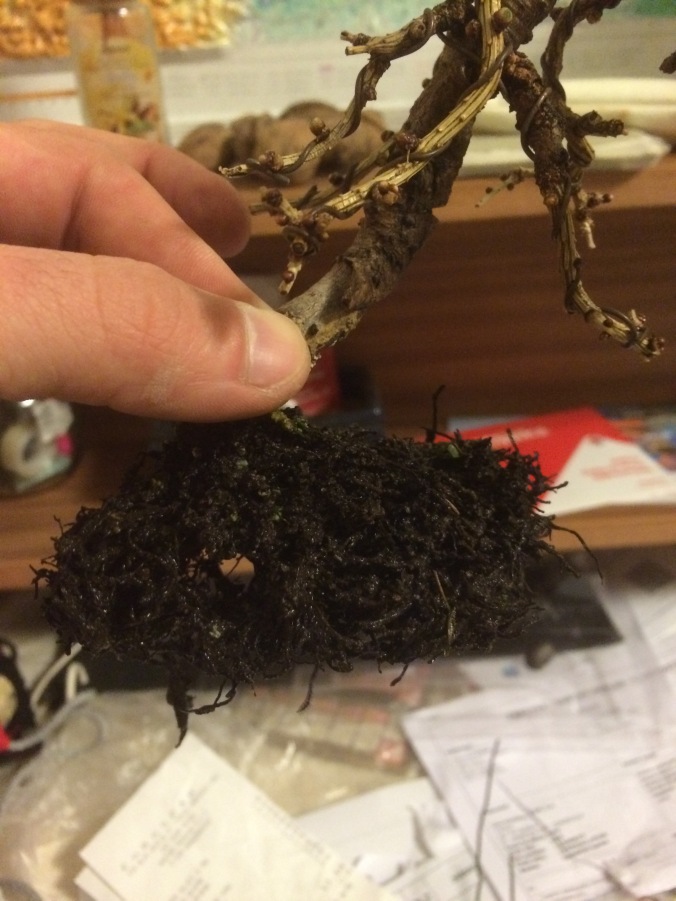
This was a sweet deal. A year and a half ago, I purchased a Larch that I thought had great potential for a killer price. It was in a decently shallow growing container but I felt that it deserved a great pot to show it off. I wasn’t prepared with the root situation that I found in the growing container. There was still too much wood underneath the soil which has to be removed in small quantities as you never want to do too much work on a tree at once; especially a conifer. I also didn’t have any other new pot with me than the 2 that I brought with me at the time of the re-potting and I didn’t want to put it back into the growing container. The result was that the Larch was in a pot that didn’t suit it so well and I had no other or better option at the time.

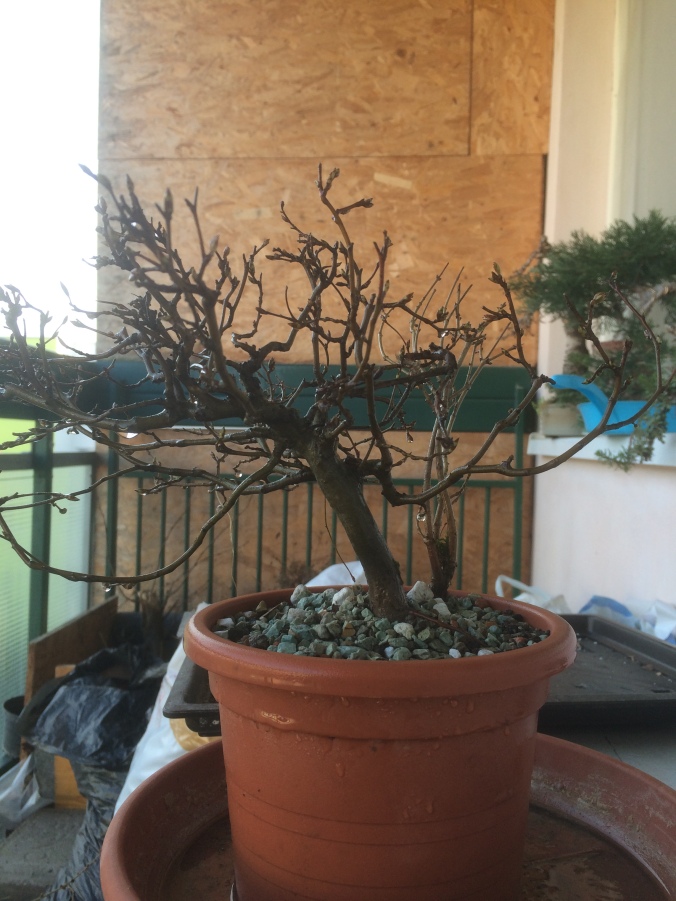
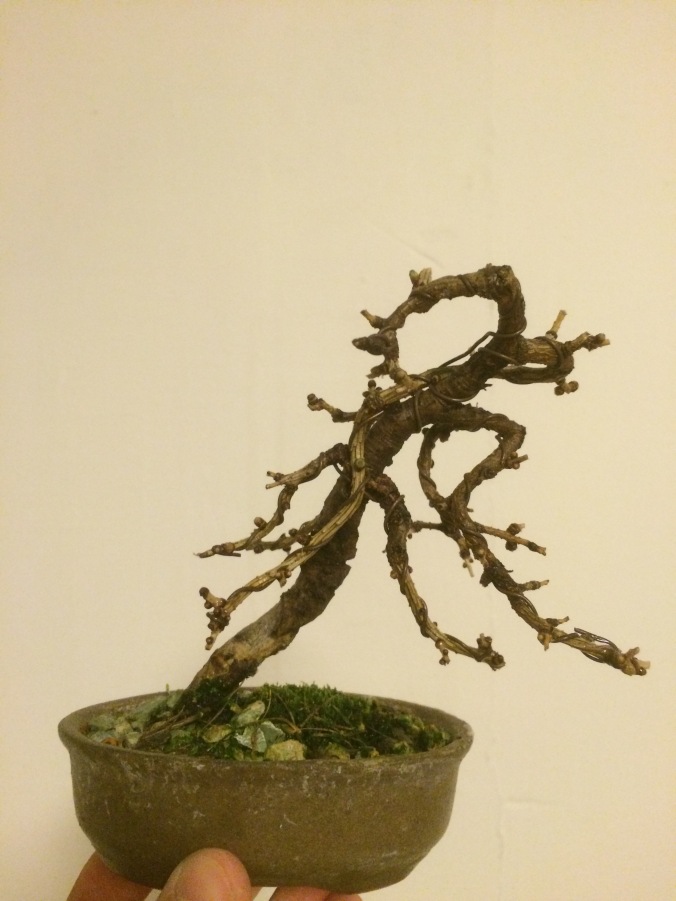
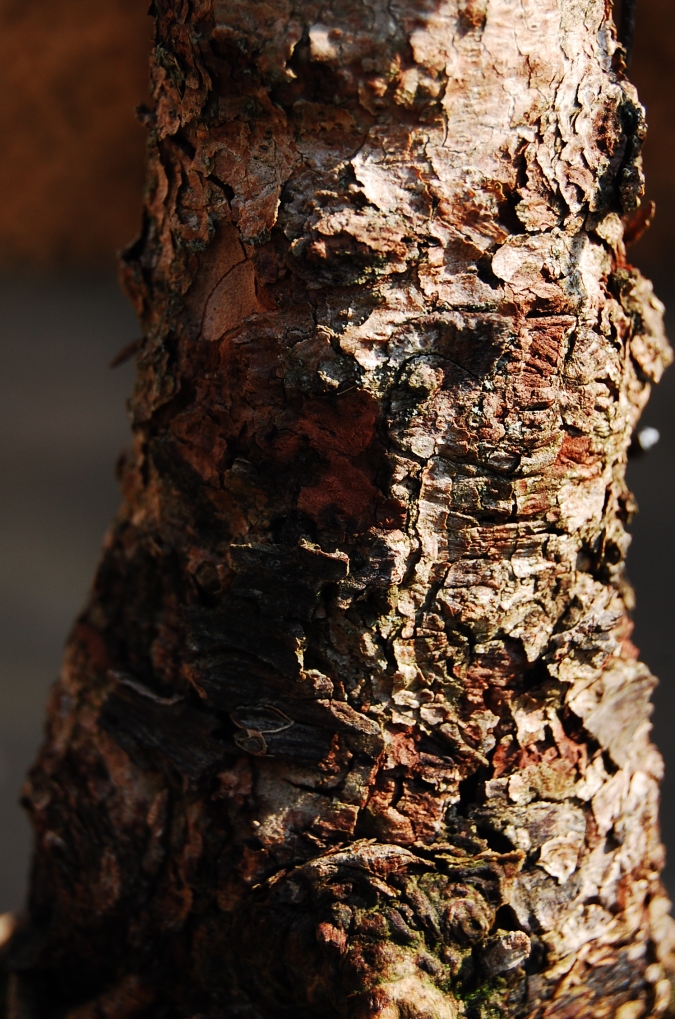
A year later, I found a better suited pot for this tree and I managed to reduce some of the useless wood that was under the ideal soil line. I believe this pot enhances and compliments the tree much better than the last one. Feel free to share your opinion!

DSC_0178

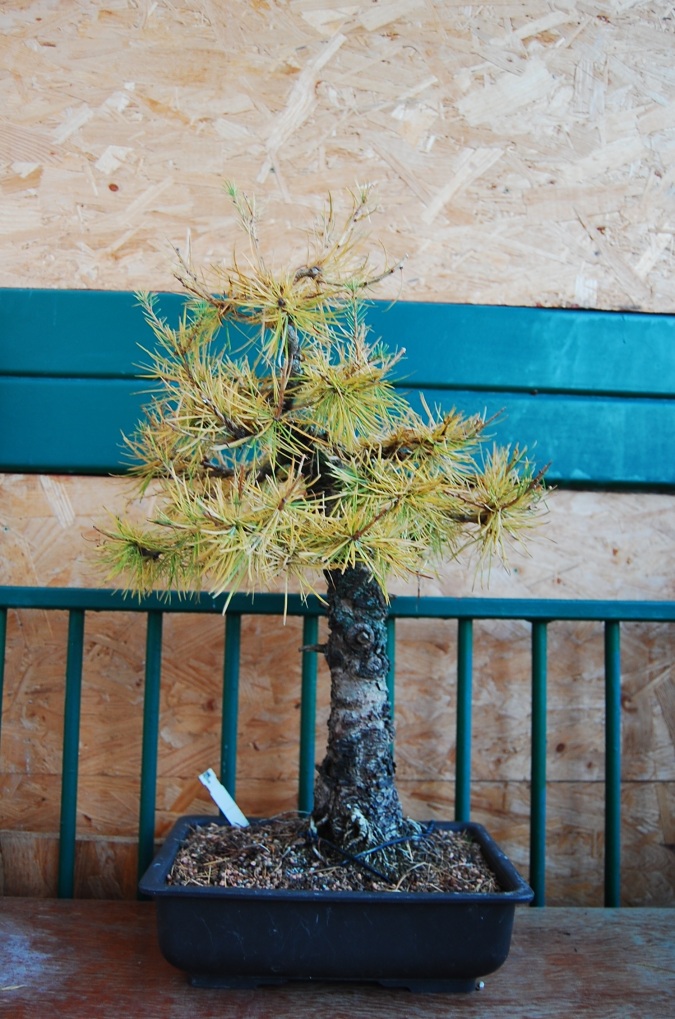
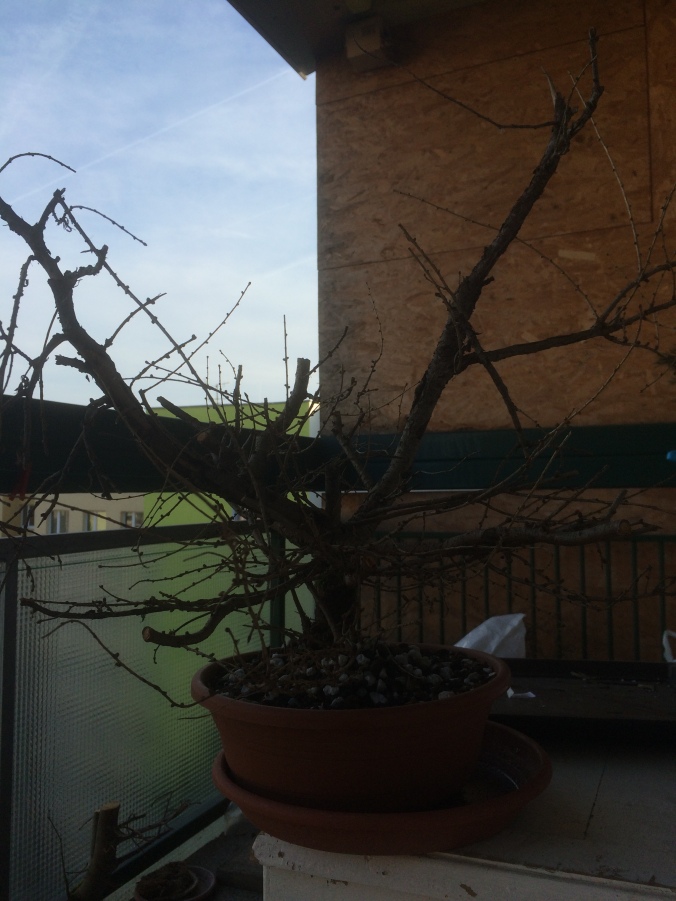
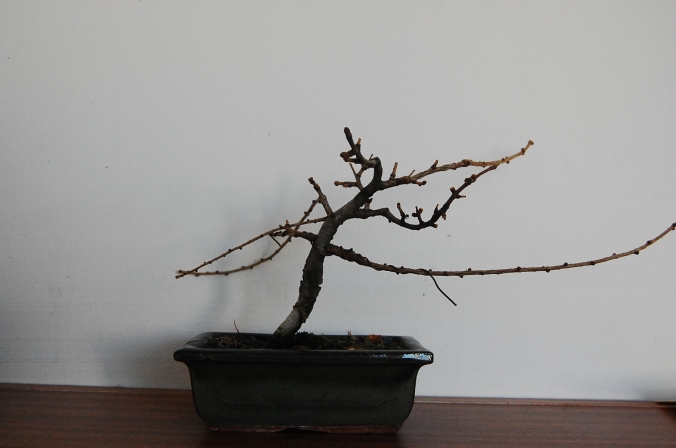
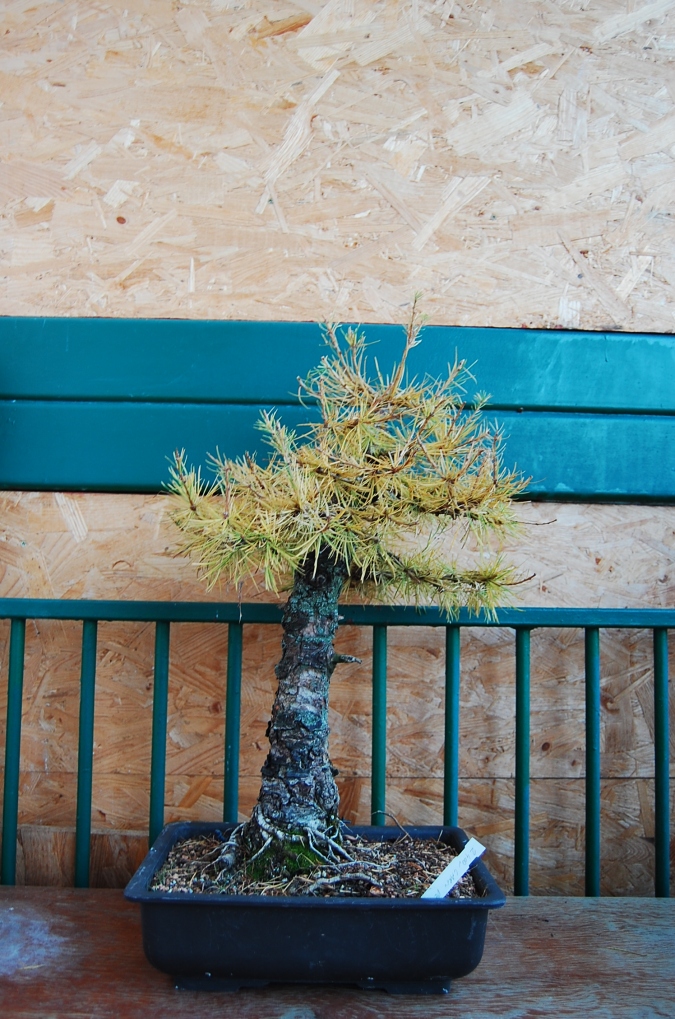
When I first acquired the tree

DSC_0180

DSC_0334

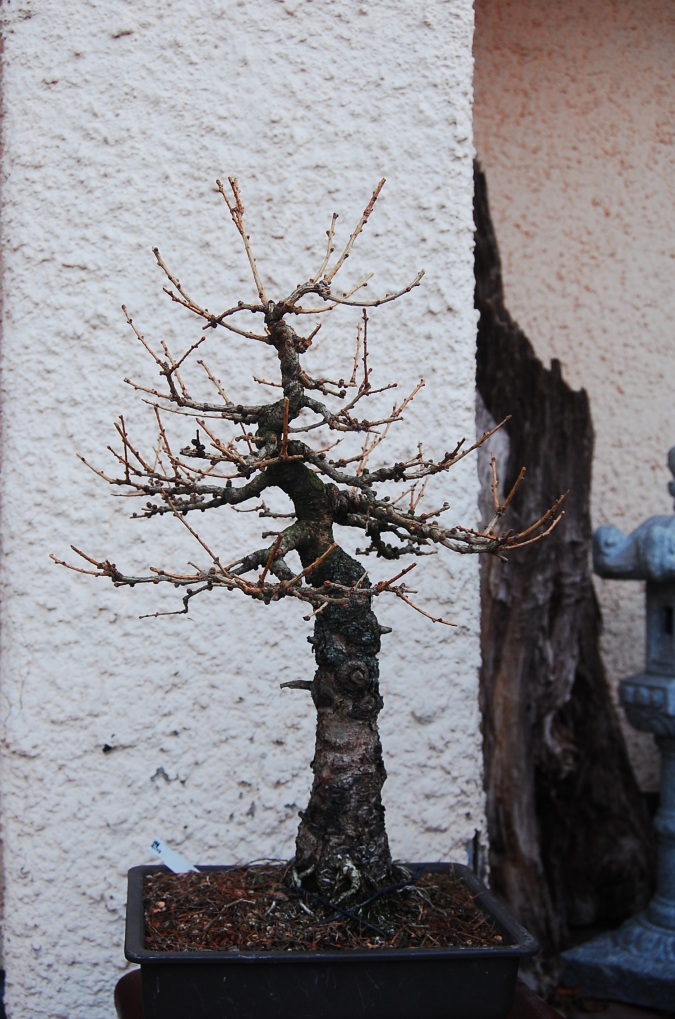
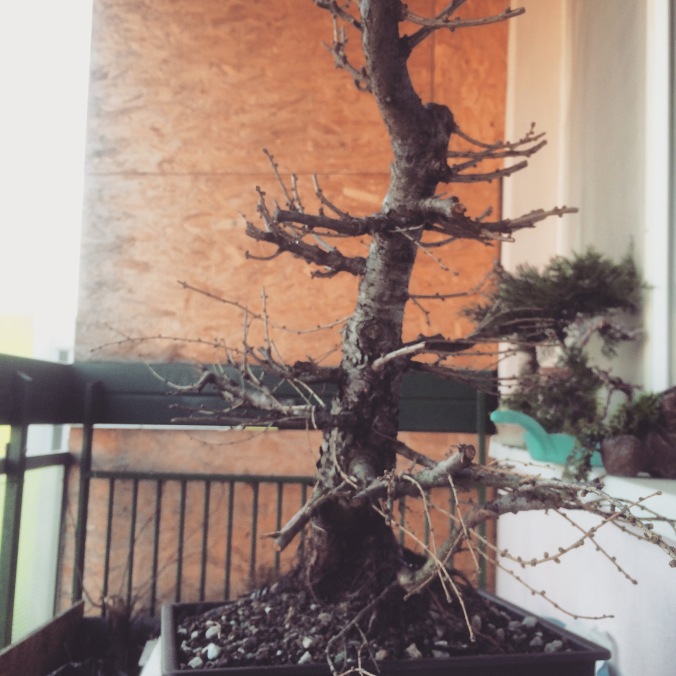
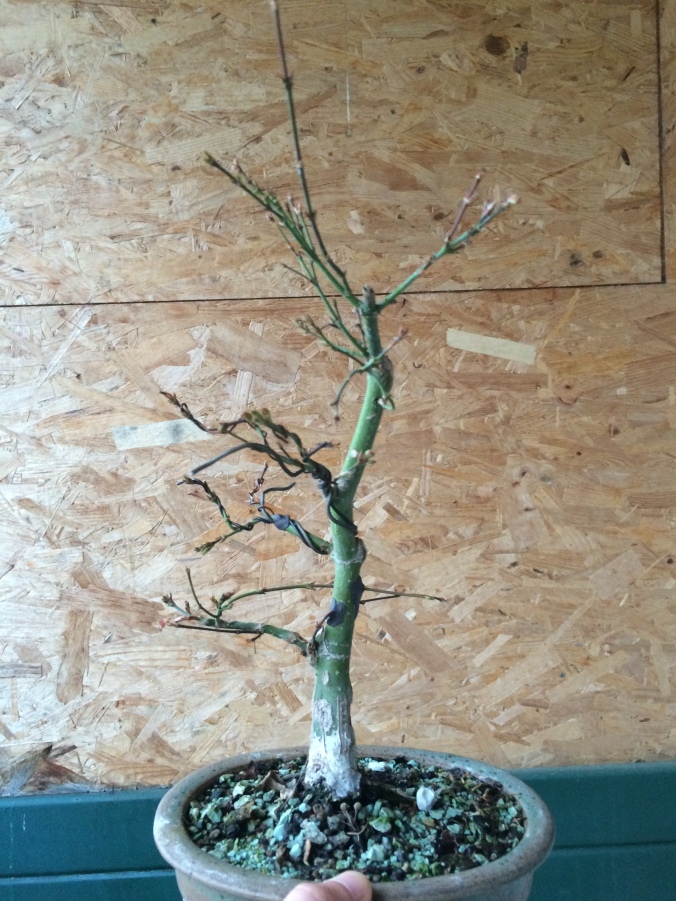
Before the first styling

DSC_0344

DSC_0344(without top) 2014

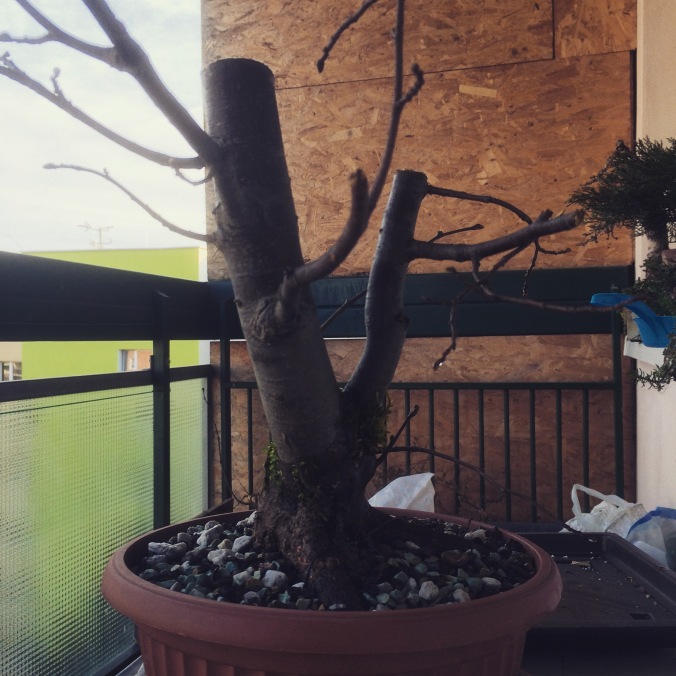
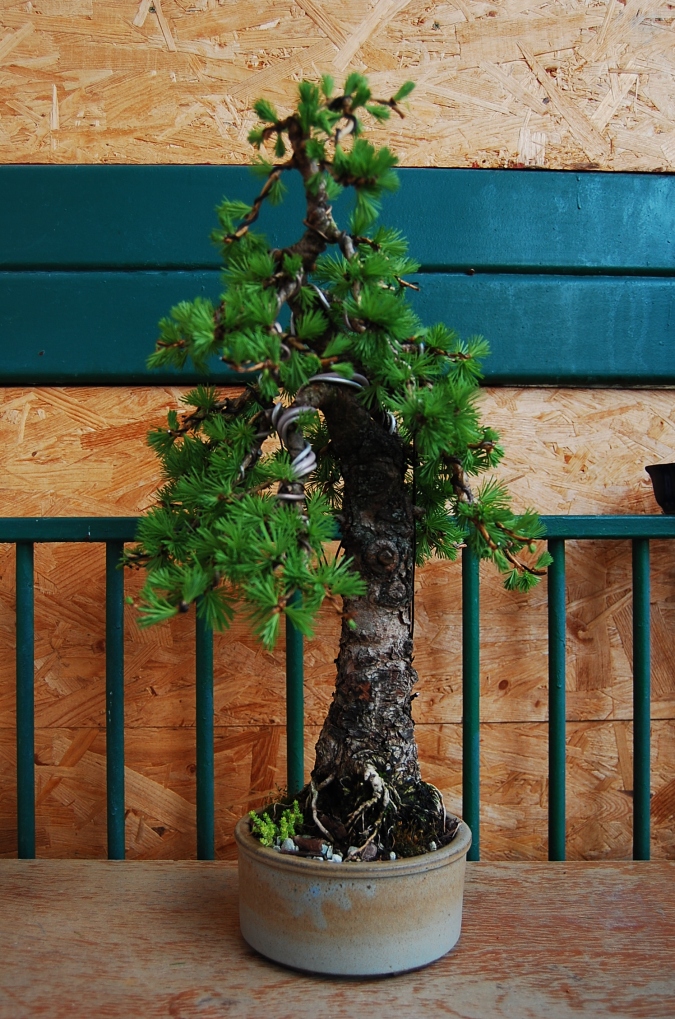
I edited the top off. I felt that it was currently too tall and I didn’t like the proportions. I thought this would eventually become necessary. I think many people wouldn’t cut this because they are afraid that it will look ugly for some time. This is true but without this chop the tree will never look good.

March 21-2015 repot

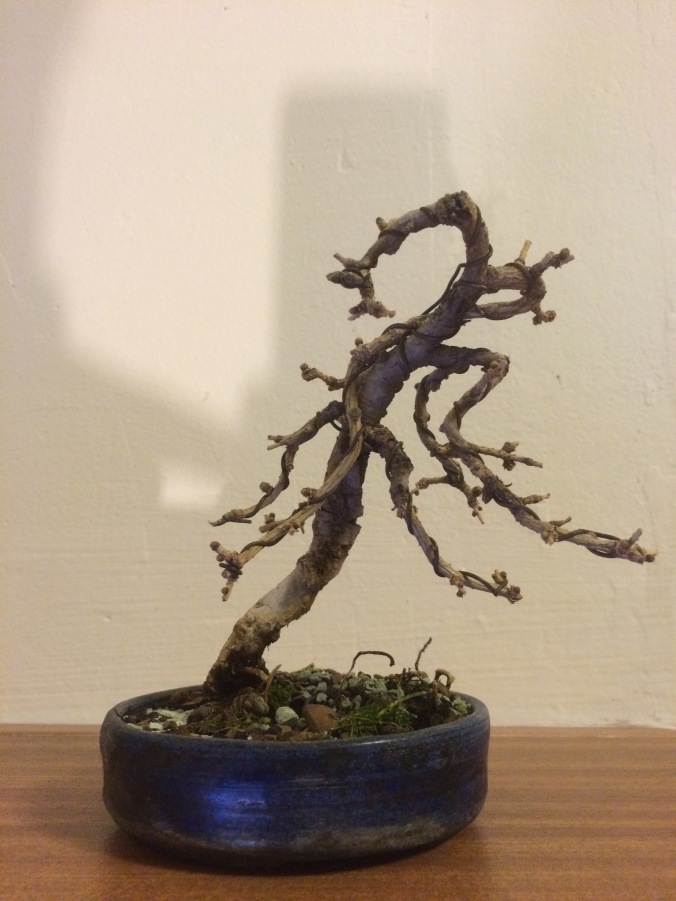
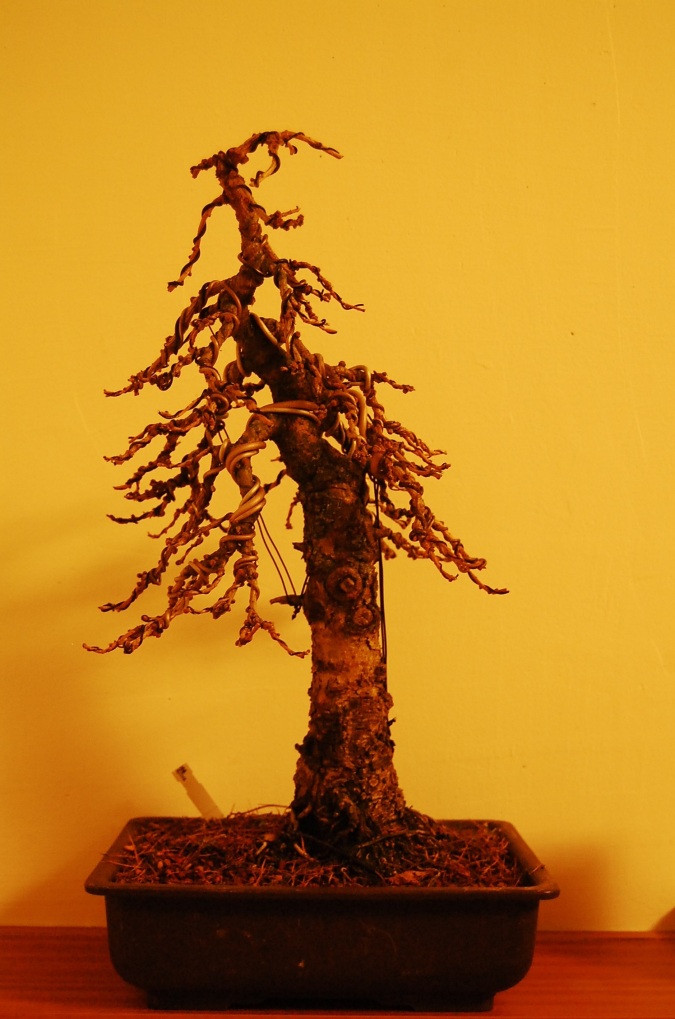
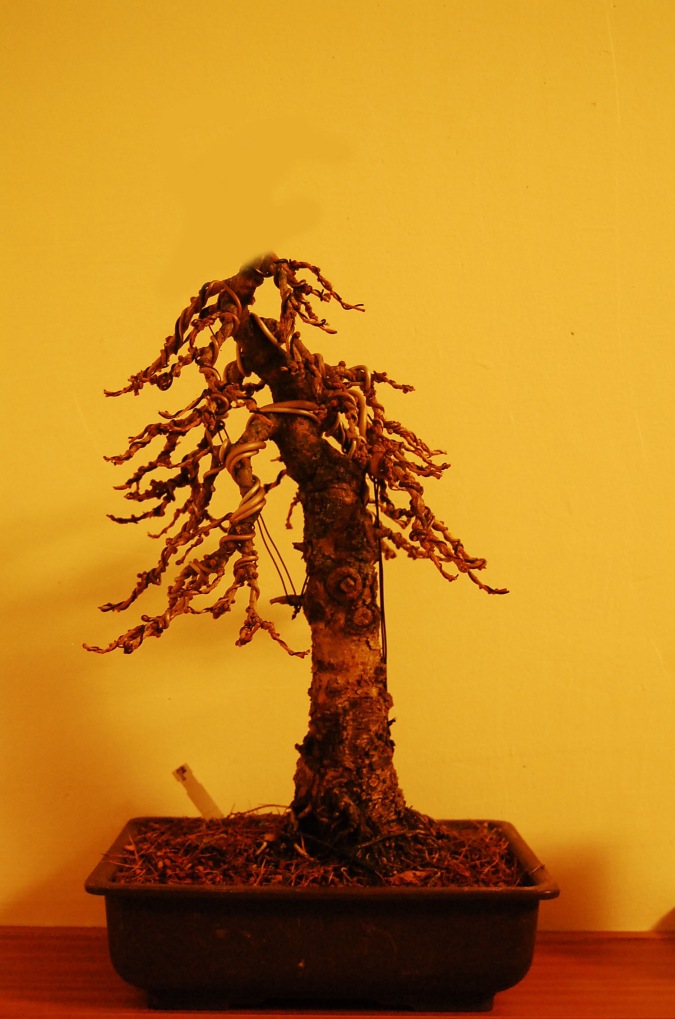
This was the pot I was left with. Not such a great match

March 21-2015_3

DSC_0203

I was relieved when the tree showed signs that it survived the re-potting. I was afraid that I went too far with root trimming and removing some of the wood underneath the soil line.

June 26, 2015

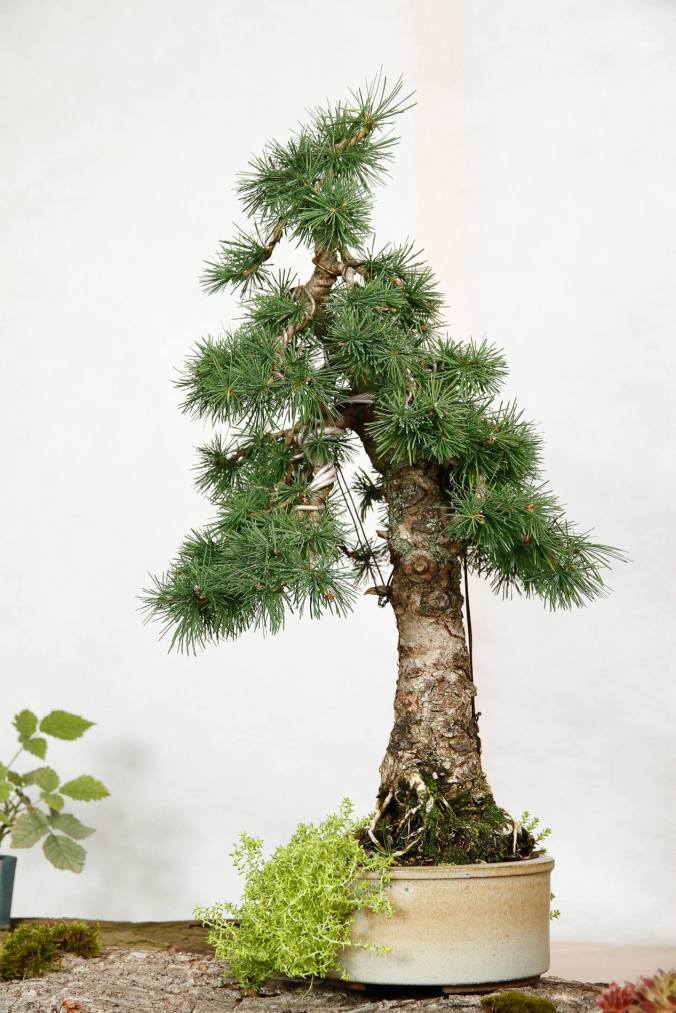
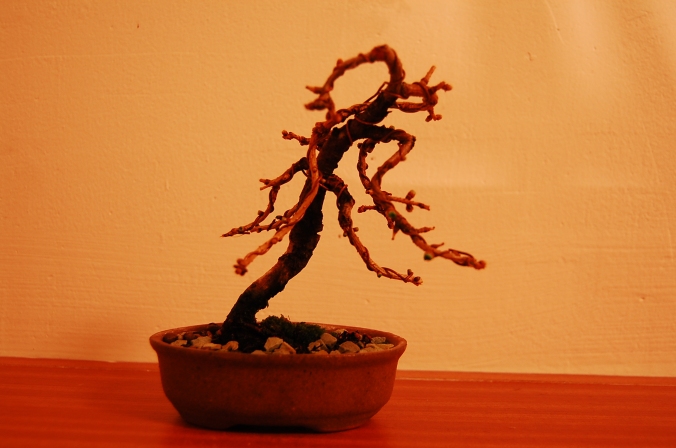
This shot was taken by my friend Jiri Vyslouzil. Check out his work here: jirivyslouzil.cz

IMG_0495

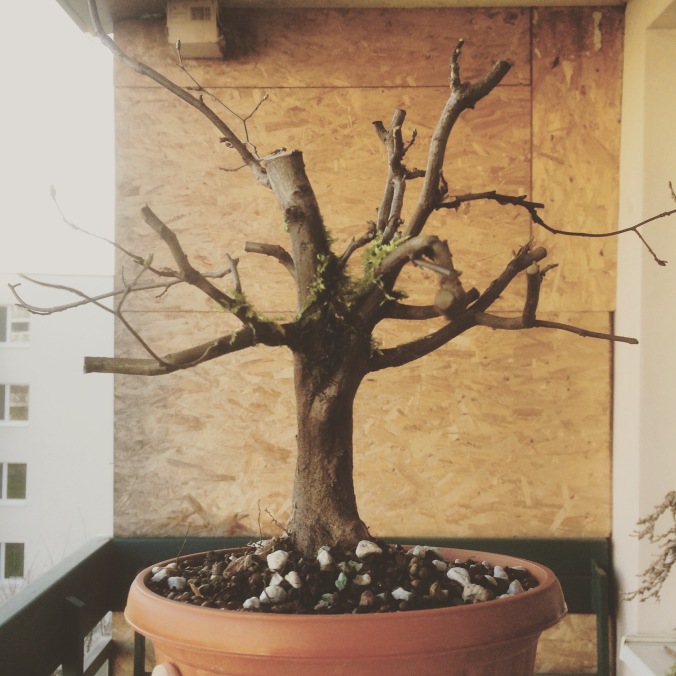
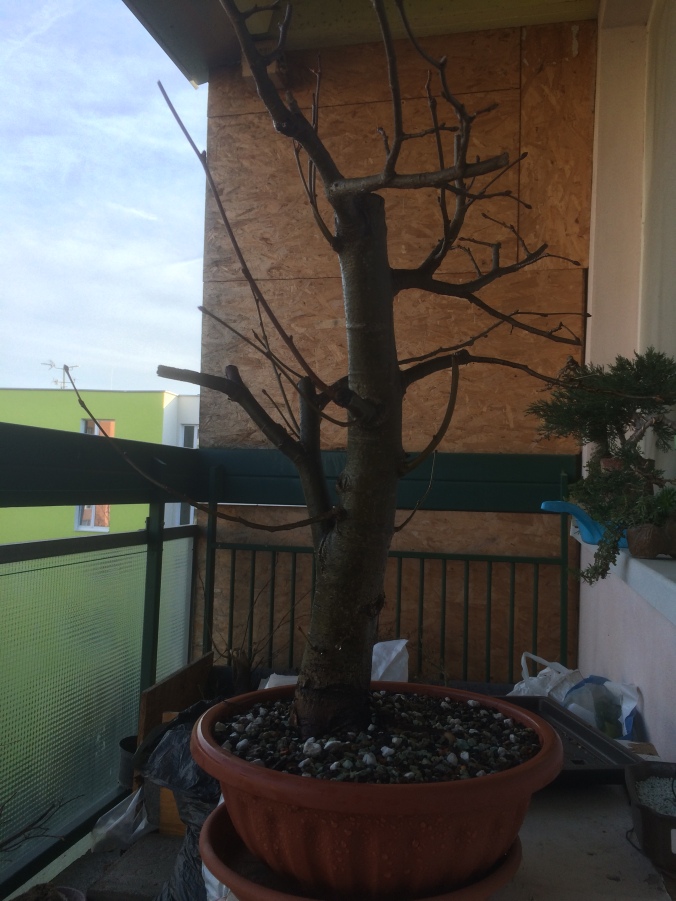
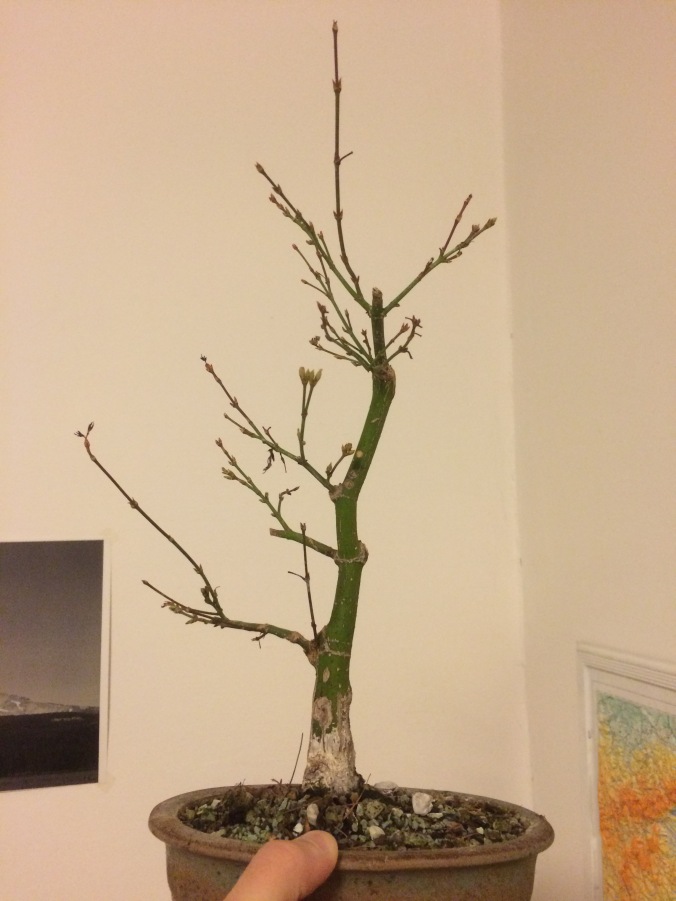
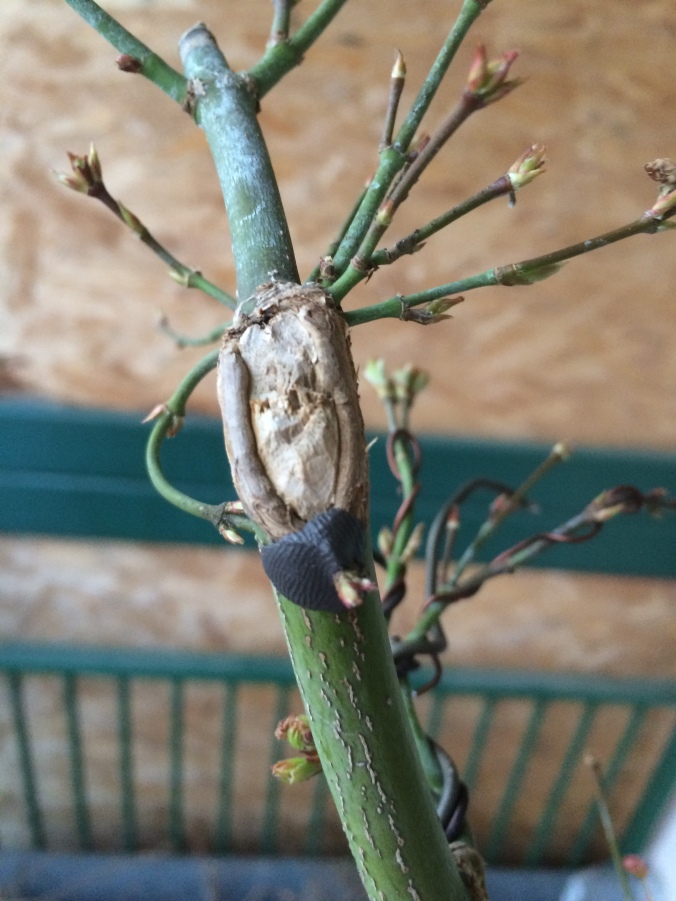
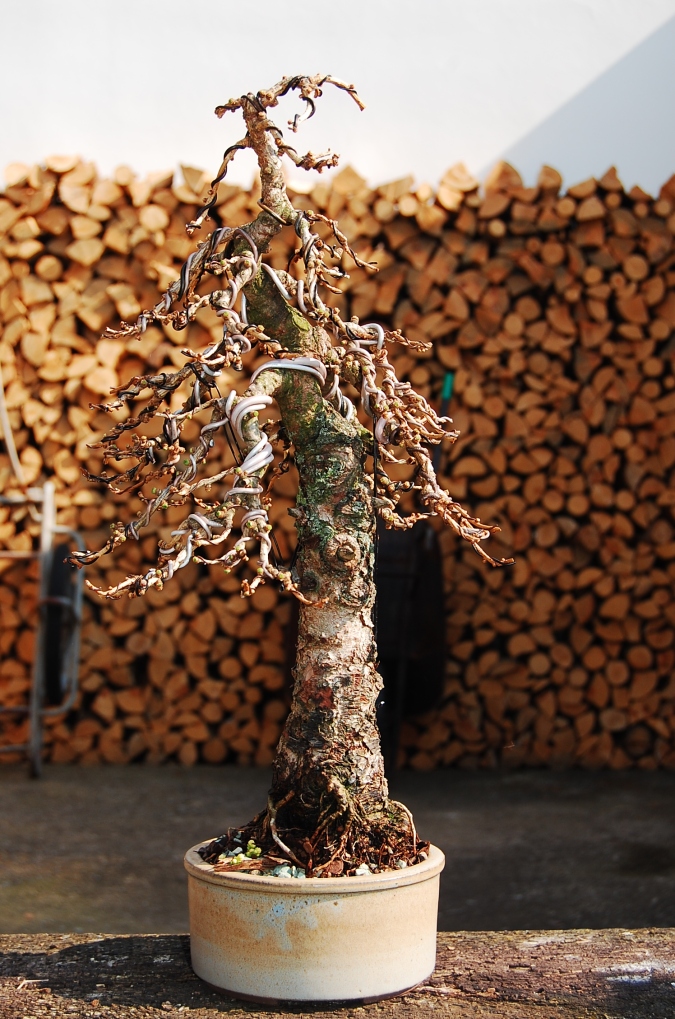
In February I decided to perform the amputation. The milk of the poppy must have been strong because I didn’t hear a single cry in pain…

IMG_0531

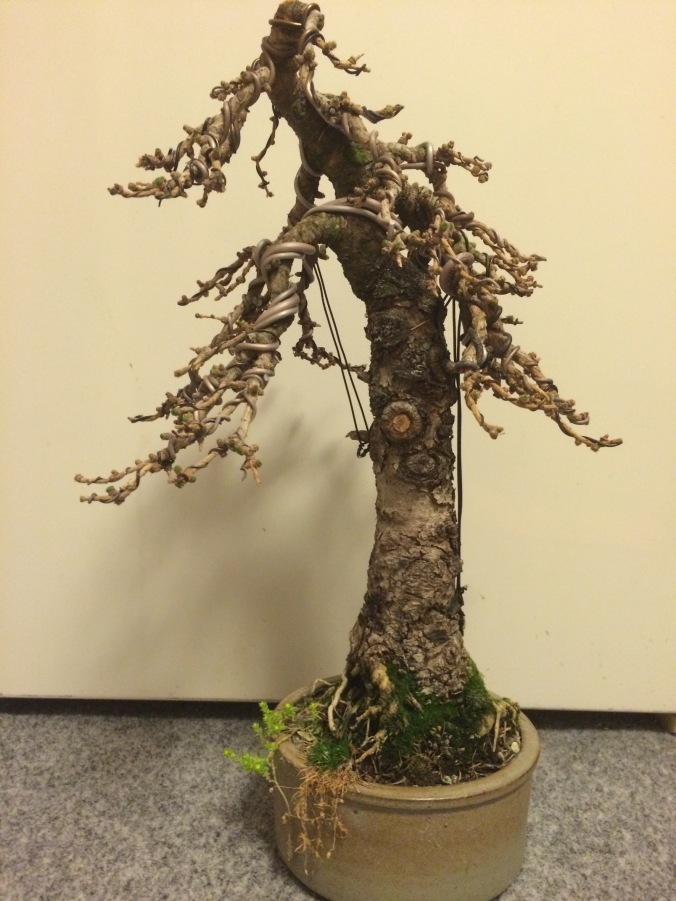
This is the current state as of today after re-potting. The top will need lots of growth this year to fill in the empty and cut looking voids but I think it was the best decision to move this tree forward. This pot was made by Mr. Jiri Svacina from Zastavka u Brna.

IMG_0532

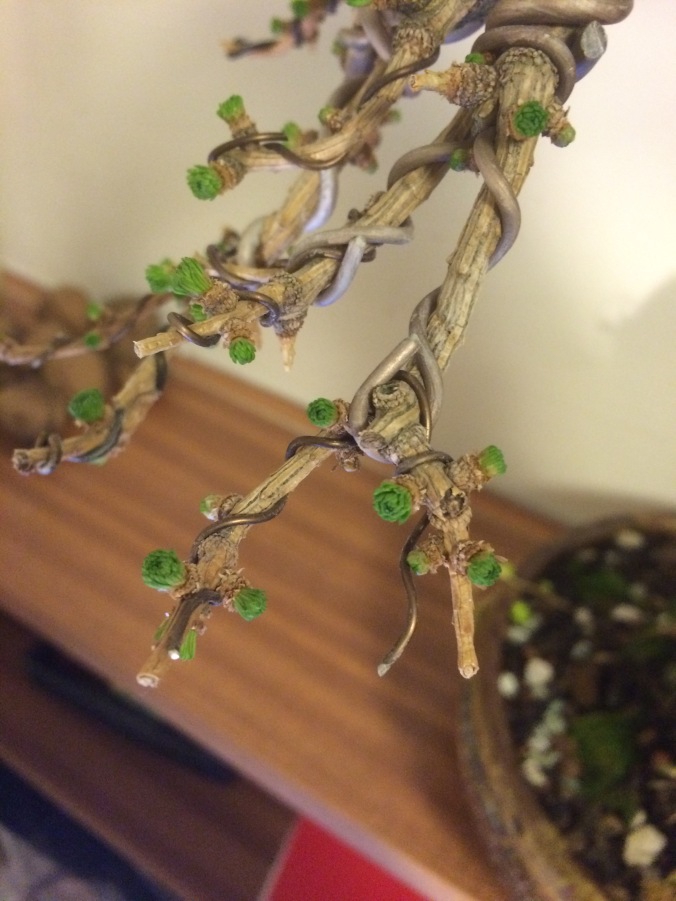
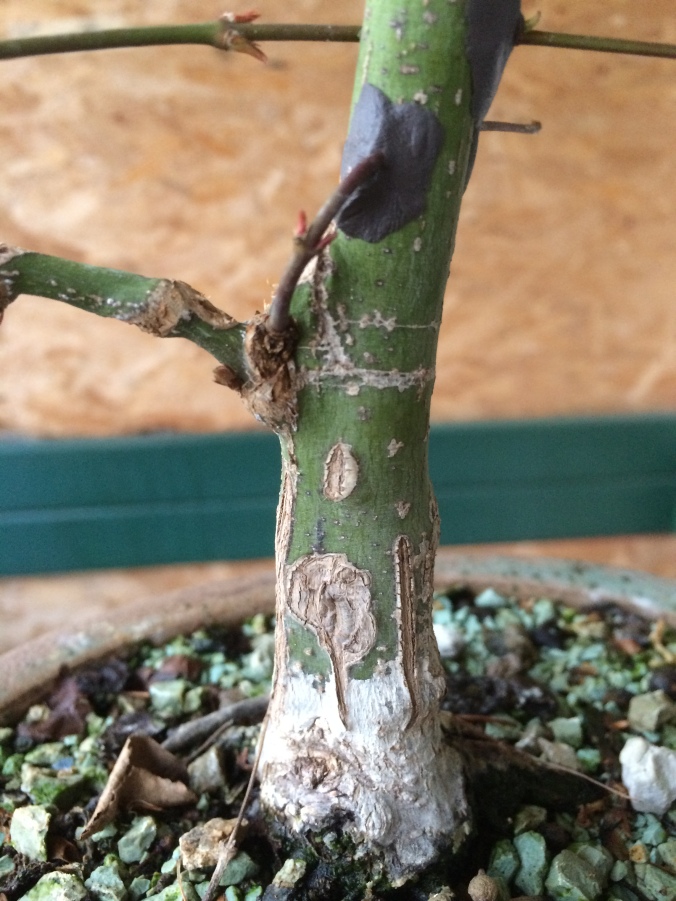
Spring is here when Larch say so. The wire has been on for over a year and it hasn’t bitten into the branches/twigs yet so I will leave it on perhaps for this entire growing season if possible. Wire should bite into the wood a bit on conifers to guarantee the desired shape is kept. Otherwise the branches will swing right back into their previous positions

IMG_0496

This is my watering station here at Balcony Bonsai Brno. Some also refer to it as a bathtub..

See you soon!


Grafting attempt

One of my first tries to create more branches. This is one of my first trees that I bought here in the Czech Republic. It’s a very ordinary Japanese Maple but I think with time it can be a nice small sized tree. I also like sumo-like Yamadori regarding deciduous trees, so I also need the balance of some nice elegant and feminine trees.

This tree has some sort of issue though. It fails to throw new branches on different parts of the trunk. I decided to try and aid this matter by drilling holes through the trunk, pushing branches through but careful not to destroy or break the new buds on these branches. Then using putty or cut paste, secure the branches in place. I will allow this tree to grow freely until July. Hopefully as the cambium grows, expands and heals. The trunk will fuse with the branches and BOOM, I have new branches. I will report how effective this was a few months from now.

IMG_0436

Ordinary Japanese Maple with NO BRANCHES ON THE RIGHT! Not to mention the rear of the tree

IMG_0511

after drilling, pushing the branches through and fixing into place

IMG_0513

IMG_0514

I didn’t have long branches to pick from so I only pulled 3 new branches that I hope will take

Take care and enjoy the signs that spring has come.

Yamadori hunting 2016

Howdy, so as I stated before, I have been busy.

I would like to share some of the tree/stumps I have found that could prove to become great material to create bonsai from some day.

IMG_0527

Beech

IMG_0528

Beech

IMG_0401

Beech

IMG_0404

And more beech. This one I will grab for sure this year. Perhaps in 2-3 weeks time depending on the weather.

And some other material:

IMG_0439

Larch

IMG_0453

A perfect shohin hornbeam?!

IMG_0433

Linden

IMG_0432

Hornbeam

IMG_0400

Larch

IMG_0405

Larch that I plan on taking, I have been preparing and trimming this one for a couple of years now.

Those are some of the things I have come across. Stay tuned for more coming soon.