Larch #4

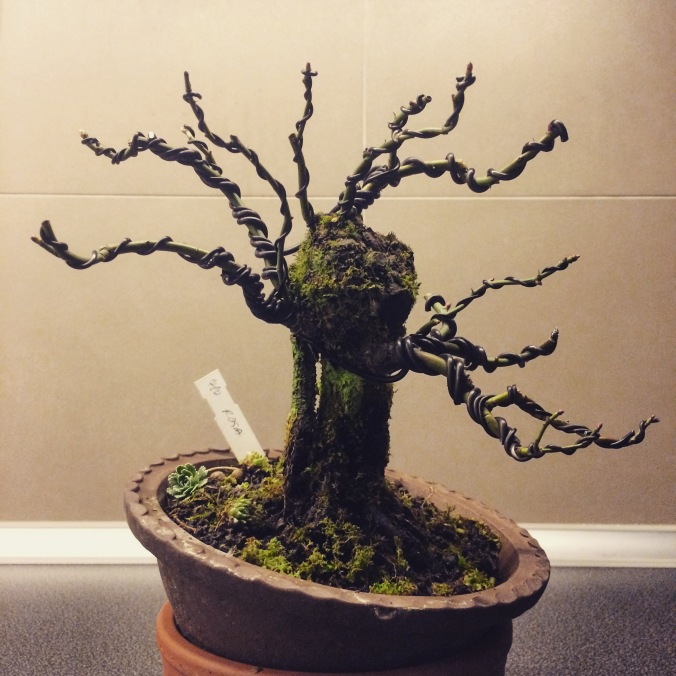
This is the tree I got for a bargain about two years ago. It had some surgery done and it also went through a beheading. It also has had wire on it for almost two years now so there goes the myth that wire can be on for only so long. The best trick with wire, is to leave it on as long as possible. From the previous season I am focusing on building a new crown from the previous one. Because of haste and poor planning I potted this tree from the training pot into something that made the tree look like it was going to launch into orbit and then finally something a bit more suitable, at least in my opinion. The growth last season was then simply trimmed off and some new branches wired and other ends left alone. Those will need to be wired fully again in the future but I want the tree to rest before then. I hope for more growth this year because I will not be touching the root system at all.

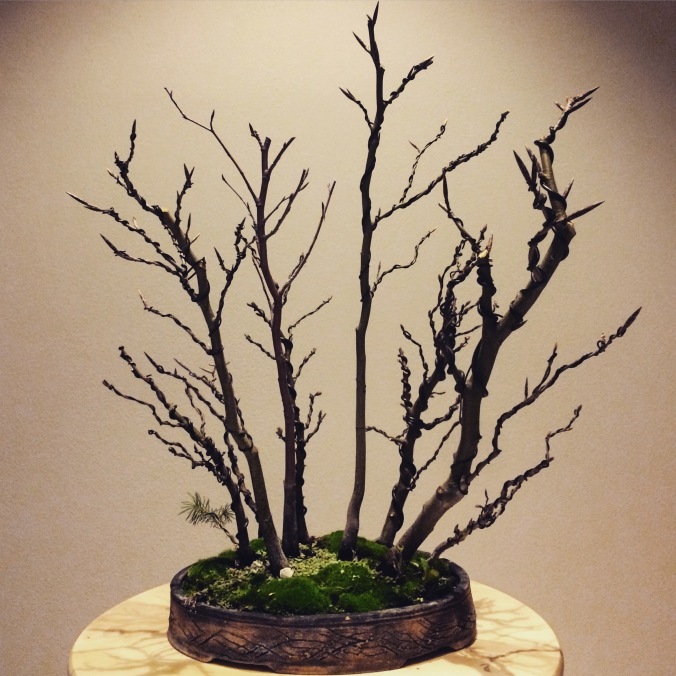
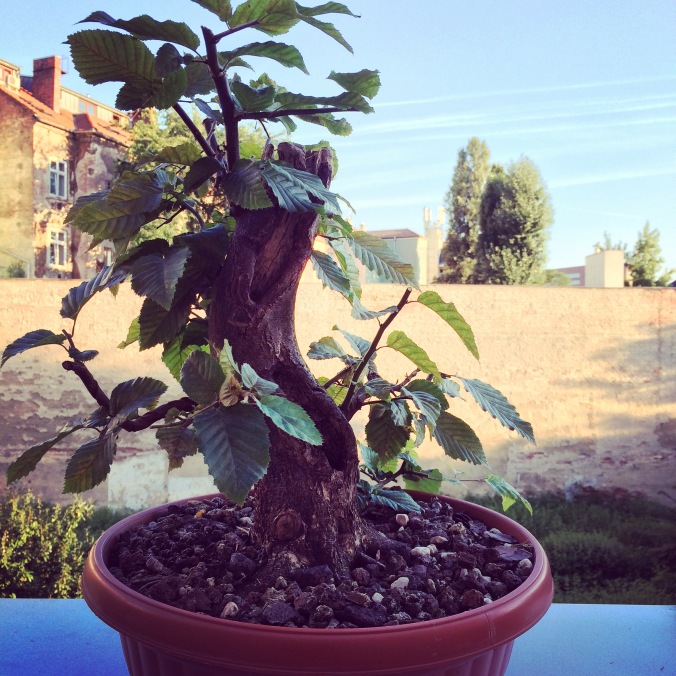
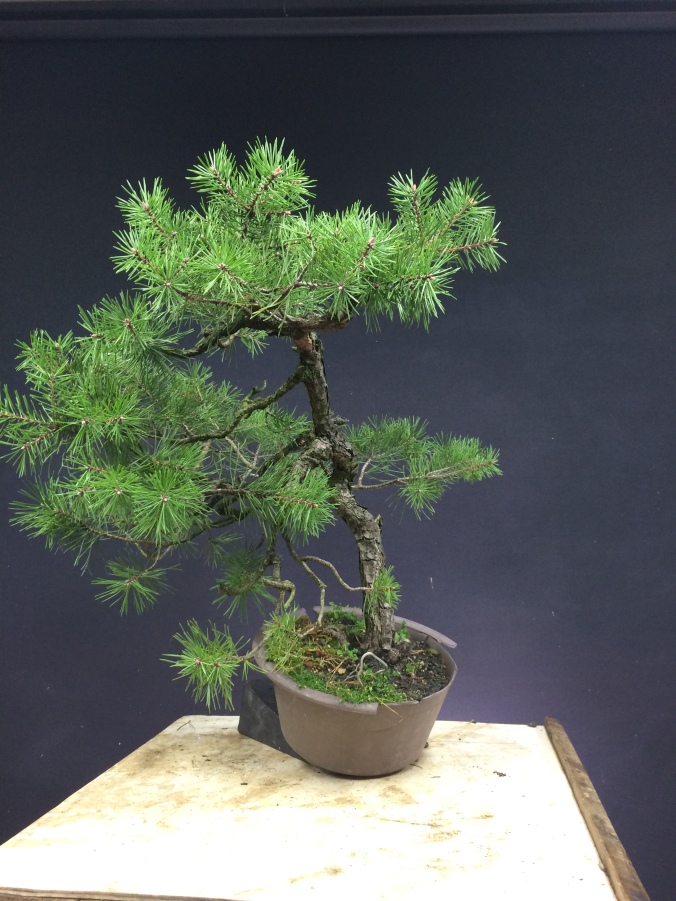
This was the original tree. Great potential I thought but needed styling. Props to the previous owner though for splitting each sub branch into two’s and so forth.

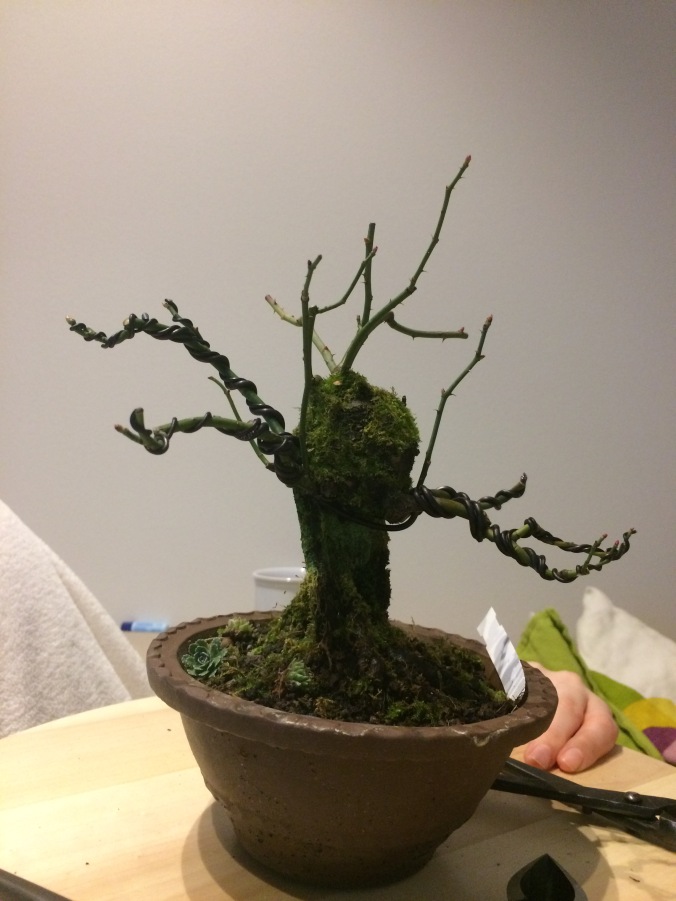
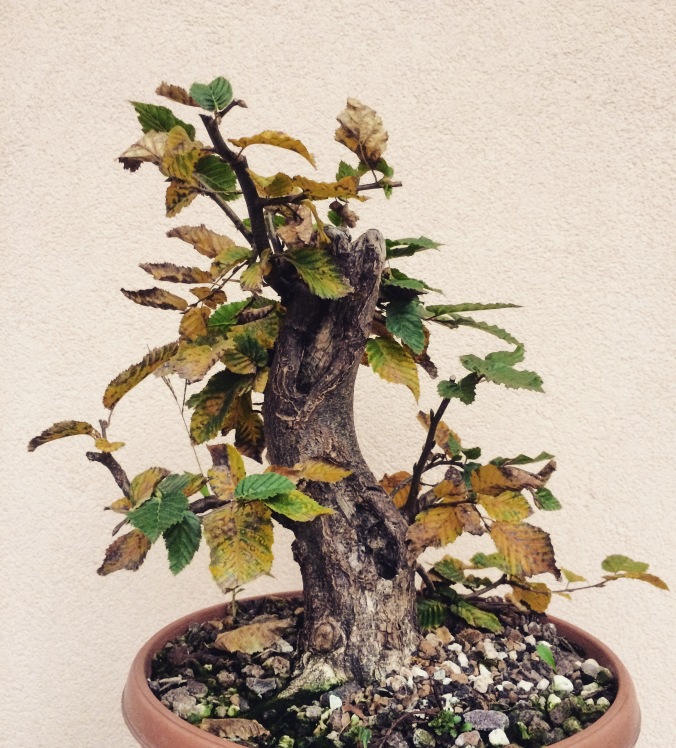
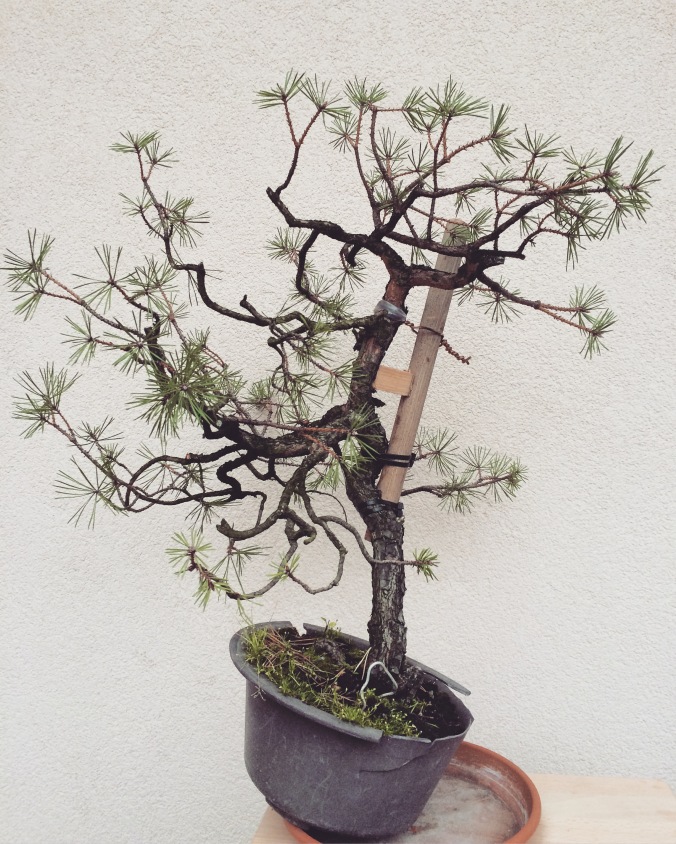
Some time after wiring for the first time since I got the tree and what I thought needed to be done to improve the tree in the long run. Doing the right thing is not always easy with Bonsai and I think many people would have kept the top to keep the Bonsai looking “nice”. This approach will get you mediocre looking trees every time. Do the hacking and rough work as soon as possible and in five years it will show that these actions, where your tree looks like garbage for a while, are worth it.

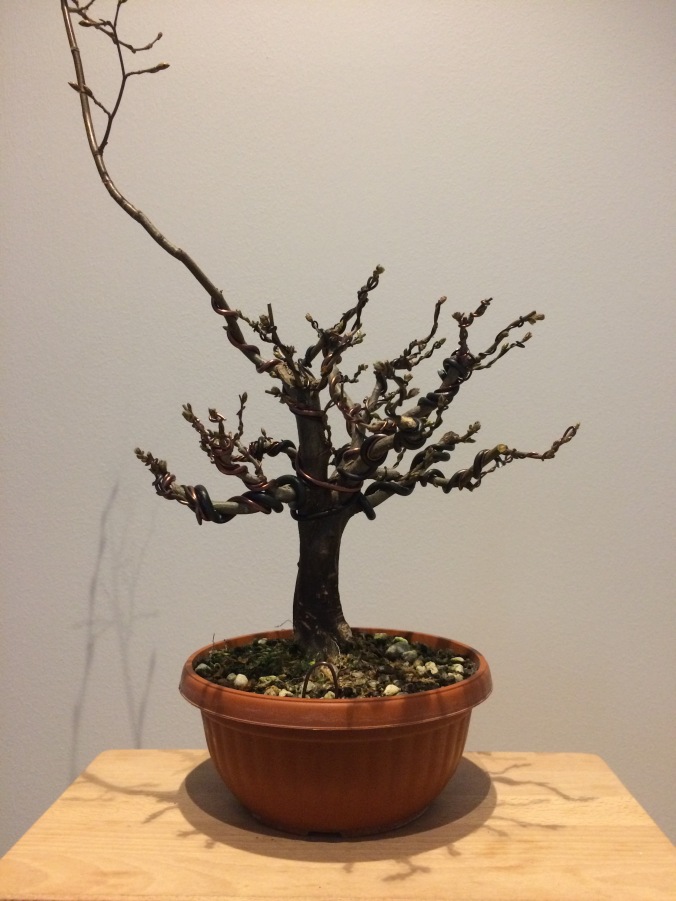
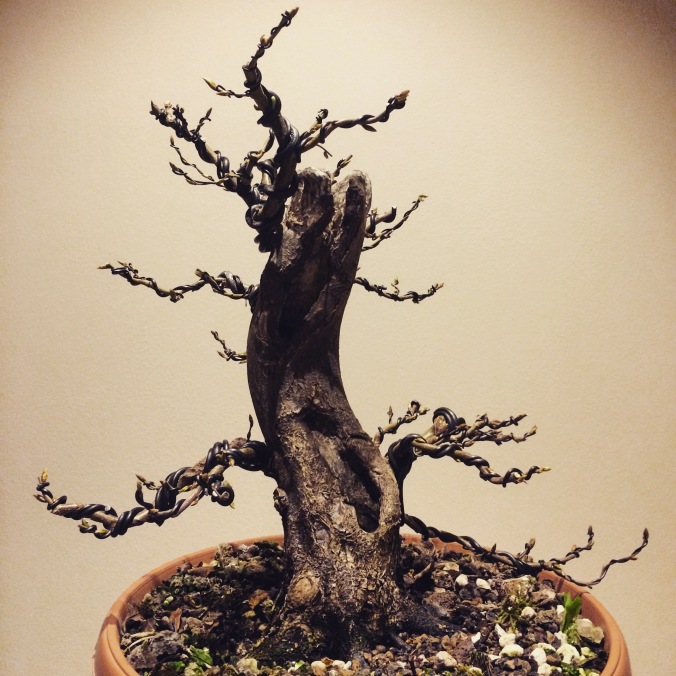
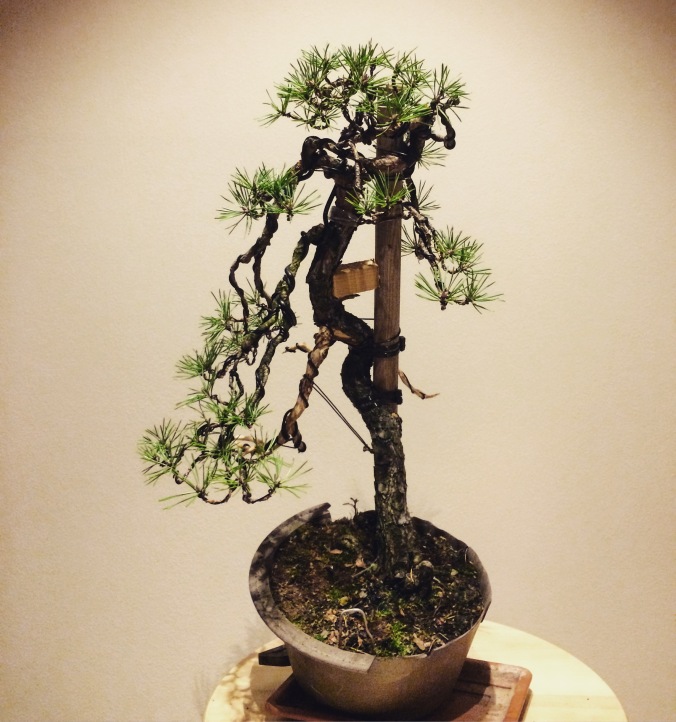
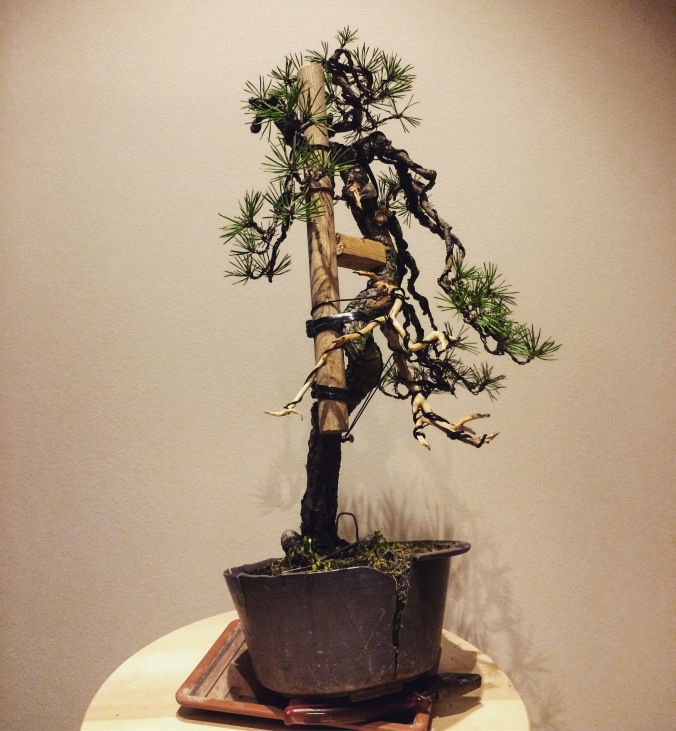
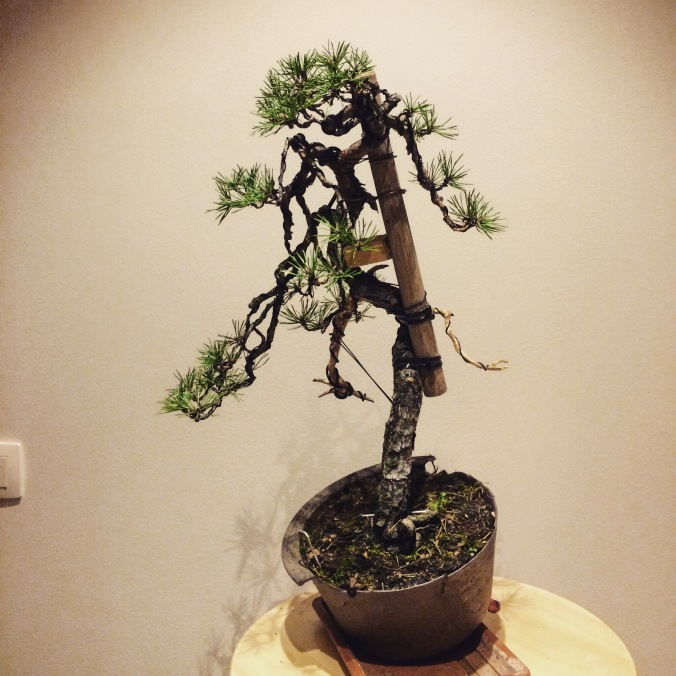
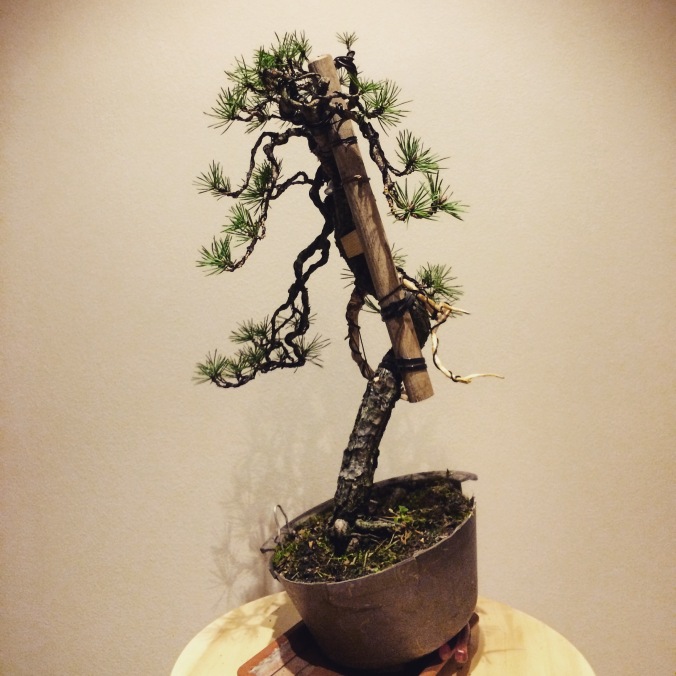
The following are the repot into a pot I didn’t want to use but because of the situation with the roots I wasn’t able to use the pot I wanted. With no other choice I stuffed my beloved larix into this candy bowl and created the first rocketship Larch.. the last three photos are making the chop and placing it into a pot I liked much more by a local potter, Jiri Svacina.

few days after re-potting and a couple weeks later. I wish Larches stayed like they are in the early spring all the time.

I don’t have any pictures during the growing season, it looked ugly for the most part but I wanted the roots and tree to gain strength back. On the left you can see how I let the tree grow unrestricted.

img_1668

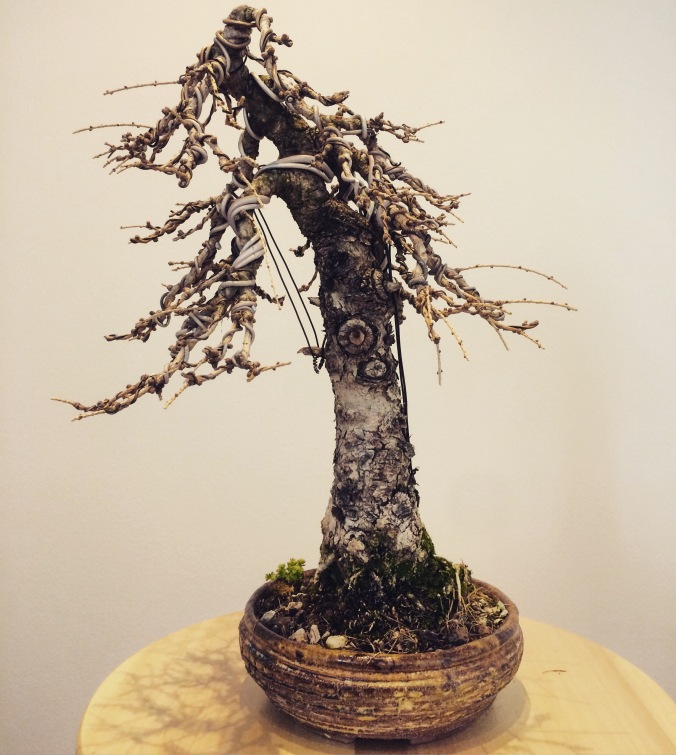
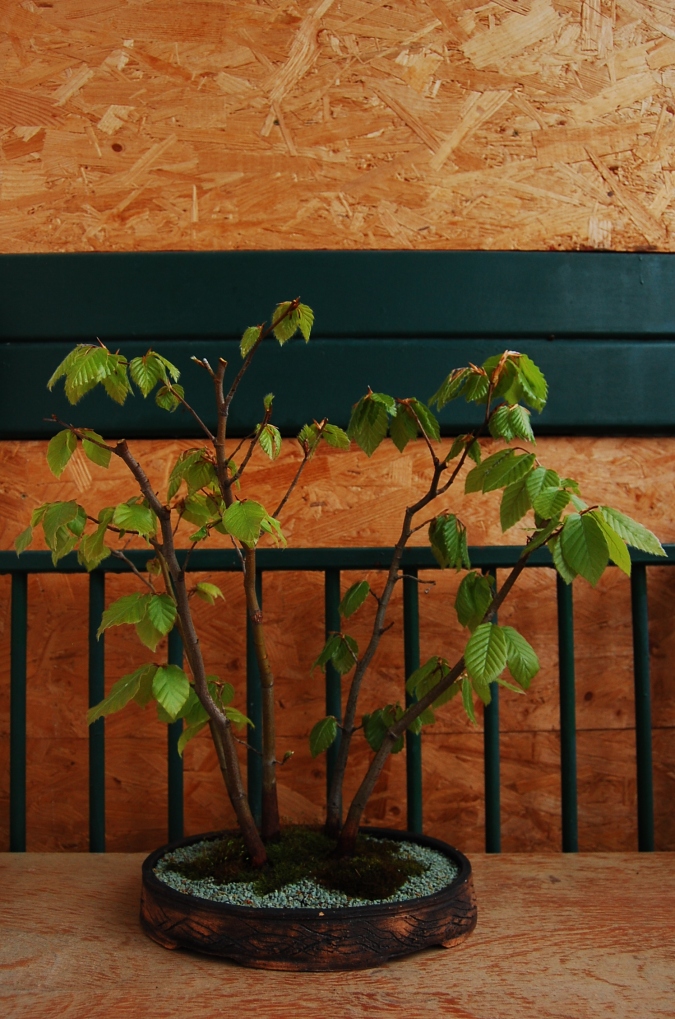
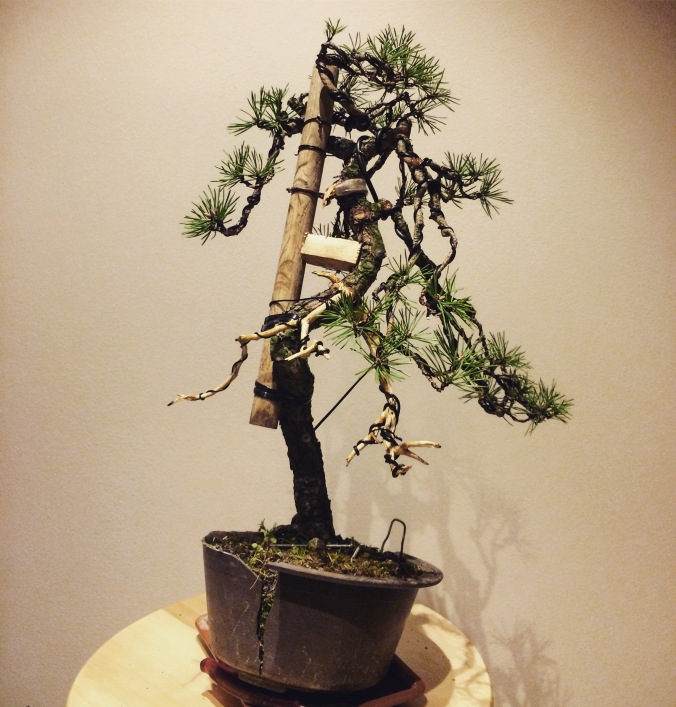
This is what the tree looks like now. Thanks for going through this novel and I hope you enjoyed the progression so far.

T*


Mixed Forest

This started out as a beech group with just 5 trees. 2 of those died and I decided that I wanted to try and create a mixed group.

dsc_0001

Some ideas such as using hornbeam, spruce maybe even an oak or scots pine. I wanted to create a group or forest that you could find growing naturally around here. I realized that it was a shame to just use 5 trees so I tried to add as many as I could without disturbing the roots too much.

I tried to find the most appropriately sized trees and I even managed to grab a spruce sapling along with one of them. So for now, 3 species in this group. I hope to have a couple more trees added in the spring but maybe also a new species of tree? I’ll see what happens.

img_1651

I decided to style the group and perhaps you can notice that one isn’t. That’s because it is dead :/

There are also some flaws with this design such as a strong center tree. I will try and correct these in the spring. I have one hornbeam sapling waiting in the greenhouse but I need to find something bigger for the center piece. That means going to all the nurseries and finding something that has been in a pot for some time or going into the forest, finding something good enough and then hope that the rootball is good enough to support the tree in this container. Group plantings are difficult when you don’t manage to get the entire group done at once.


Hornbeam #5

Dug this one out last spring, I am happy that I tripped over it after collecting my first linden.

last picture was before wiring about 4 weeks ago

and below is the final front

img_1560

The nebari needs work and I will determine whether or not an air layer should happen. The long branch that I left was to help with the healing of the giant wound below it and also to draw additional sap.

Rose

A little tree I bought because I always wanted a rose and this one was interesting. It seemed to be healthy so I gave it a quick styling about two months after having it at home and it may go into a better looking pot come spring.

img_1638

halfway done wiring.

some angles and the final front below.

img_1653

I tried to also remove as much of the moss as possible. It looks great and makes trees seem older but it’s not a good situation when moss is doing well. Usually that means that your substrate is not breathing enough and ultimately, your tree isn’t growing in ideal conditions either. Keep moss as a feature for shows and that’s it.


Hornbeam #4

I wanted to show some of the other trees I wired before Christmas. Here is a hornbeam yamadori I collected a couple years ago.

img_1056

Throwback to mid August

img_1445

Some Autumn colors

Before wiring

and after wiring, the final front below.

img_1591

Since it’s been growing well in this substrate for almost two years now I will re-pot into a better looking container and also to enhance the new look. I am really looking forward to how it will look.

Thanks!

T*

Scots pine #3

I wired quite a few trees recently but I didn’t manage to post them here. I will quickly change that…

I bought this tree from Pavel Slovak in September and we discussed some ideas as to how it could be shaped and also how to address some of the issues it had.

img_1274

This is a true Scots pine (pinus sylvestris) from the high Alps. Many of the Scots that grow around the lower elevations have mixed somewhat and also have softer needles whereas the original Scots from the mountains have pointier needles and have slightly different bark as well. This was a front we thought could work well but the upper straight section needed to be addressed.

img_1311

After thinning out the foliage to this year’s growth and slightly bending the straight section. After a month or more later I bent this even further and as far as I dared before wiring it. This tree seemed fit for some Literati or Bunjin form and this was the front I would try to work with.

img_1571

I realized that this front was.. not very good. I didn’t like it at all and I wasn’t sure why.

img_1574img_1572img_1570

Then I thought that this was the most appropriate front and I will probably stick with it. Once I visit Pavel again I will ask for more help and how we can improve the design.

img_1569

I hope to improve this one.

Thanks!

*T