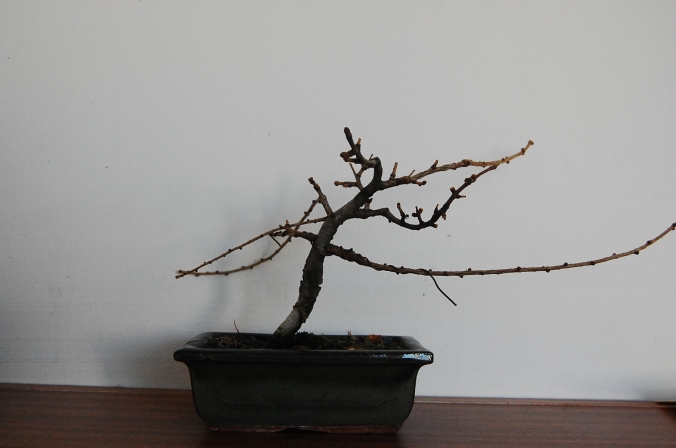
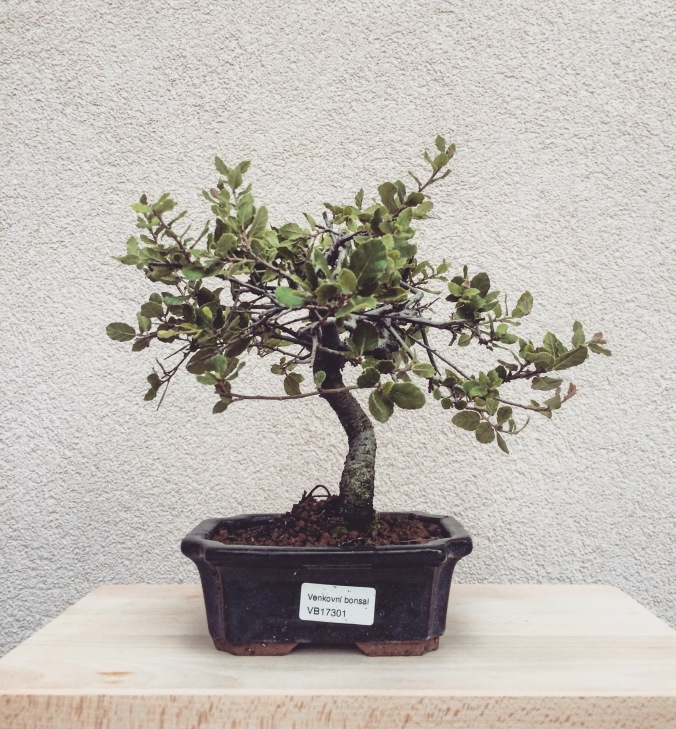
During the visit to Isabelia Gardens a while back I decided to take a plunge again and bought a Chinese Elm. I didn’t have much money with me but the low price on this piece attracted me to it, Isabelia gardens had a huge sale on these as well as ficus and some other tropicals.
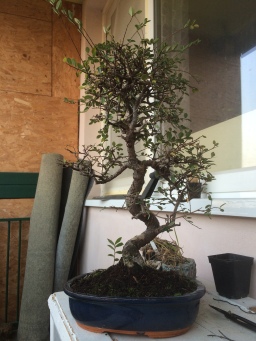
As you can see, it is really, really commercial and boring material. The reason I picked it was because I could tell it had great Nebari (Root flare) hidden under that crappy soil. I also picked it because I can see an interesting place to make a big chop or possibly air layer the top part and create another tree. When you purchase commercial trees like this that have been imported, it is very important to get them out of this soil as soon as possible and into some nice modern substrate. One of my biggest inspirations, Walter Pall, has a great article about fertilizing, watering and modern substrate here.

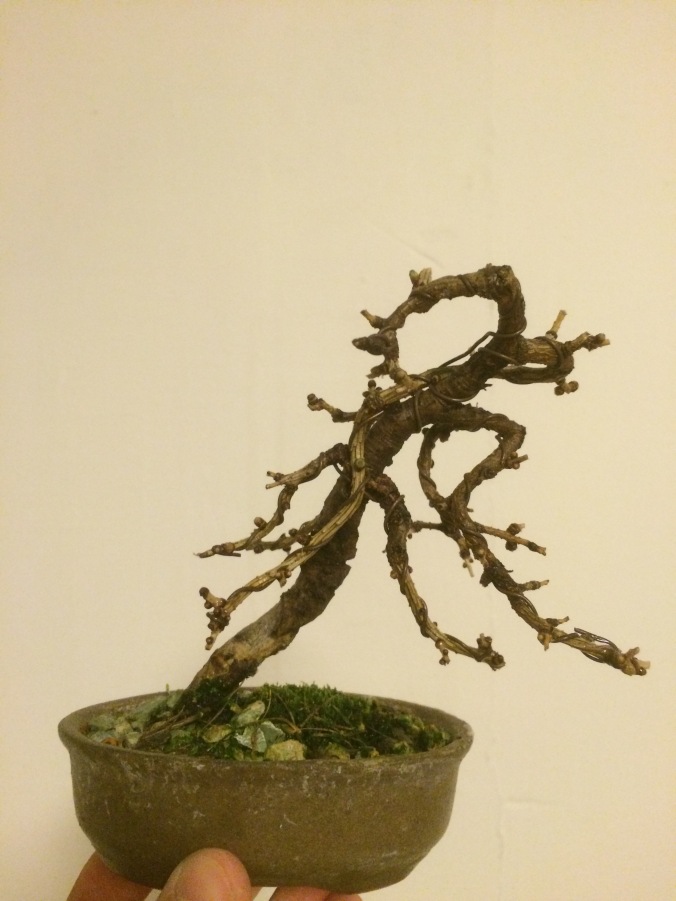
If you follow the trunk line to about the middle of the picture, this is where I would like to make the future apex of the tree. In this picture I already uncovered some of the Nebari but I will guide you on how to do this below
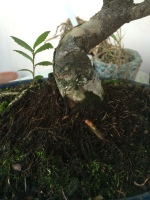
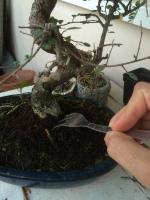
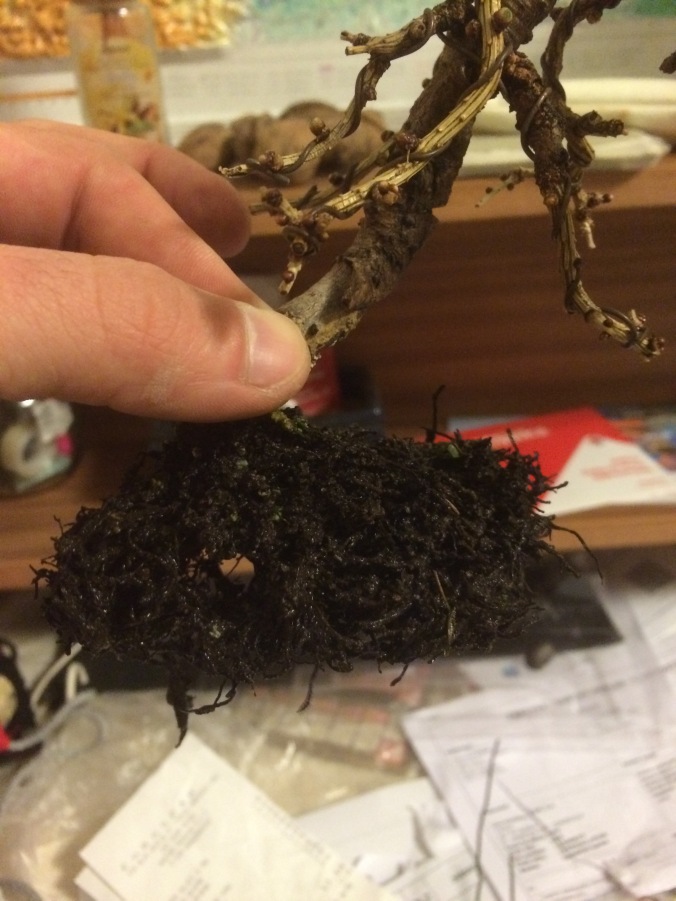
Begin by taking some tool like my custom fork here, or a small rake and begin to gently, making sure you don’t tear any roots, scraping away from the trunk and base. Do this 360 around the tree.
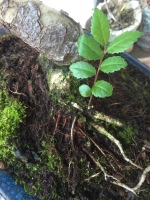
I left this shoot just so that I can be sure that this part of the root system will stay alive to next year and that some of the roots thicken faster
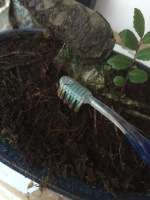
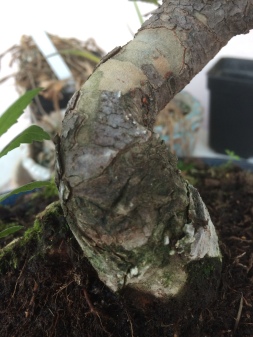
After you have removed some of the soil you begin finding the magic that you were looking for and what makes bonsai trees look old you need to begin using some kind of brush to gently remove any other excess soil or dust left over. A toothbrush works fine. You can and should also cut off any roots that are crossing each other, growing above each other and in general will NEVER look good. Nebari must be developed over time and if the Nebari is not good now, it will NEVER be good. Nebari is one of those things on the tree that needs to be considered and addressed as soon as you begin training a tree. If you find a great stump or tree that has a really nice trunk but bad Nebari, you can also air layer it and thus create good Nebari. It is always easier to find material though that already has a good start because it will look even more badass in the future.
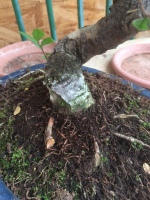
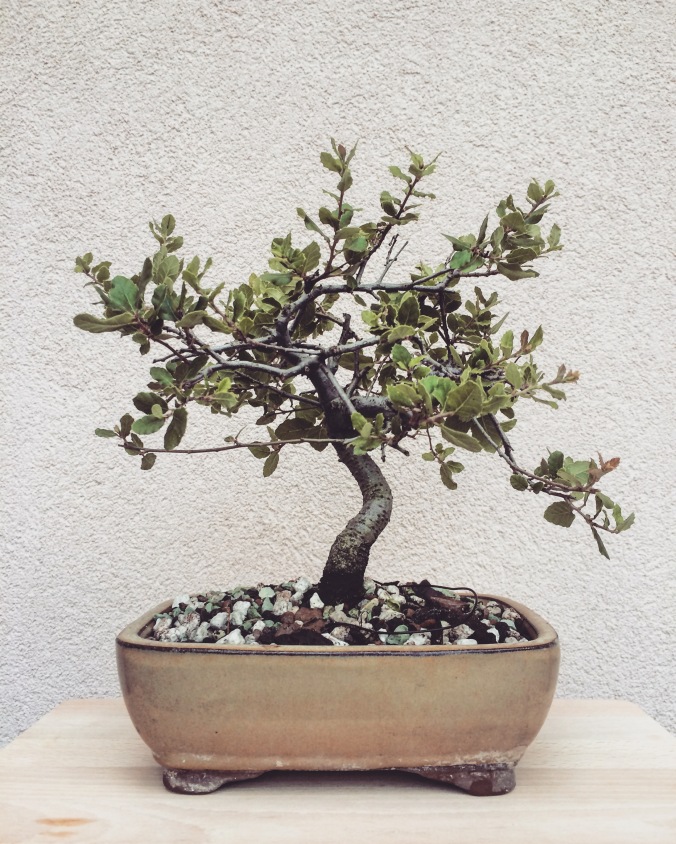
It’s not great but it’s looking better. This tree happened to have decent roots around the entire base. It is common for these commercial field grown trees in China to have good Nebari and on one side of the tree you find that there are no roots at all, not attractive.
That should give you a better idea of how to start developing trees, especially commercial trees. I will update in the future with how I will begin to style this tree.
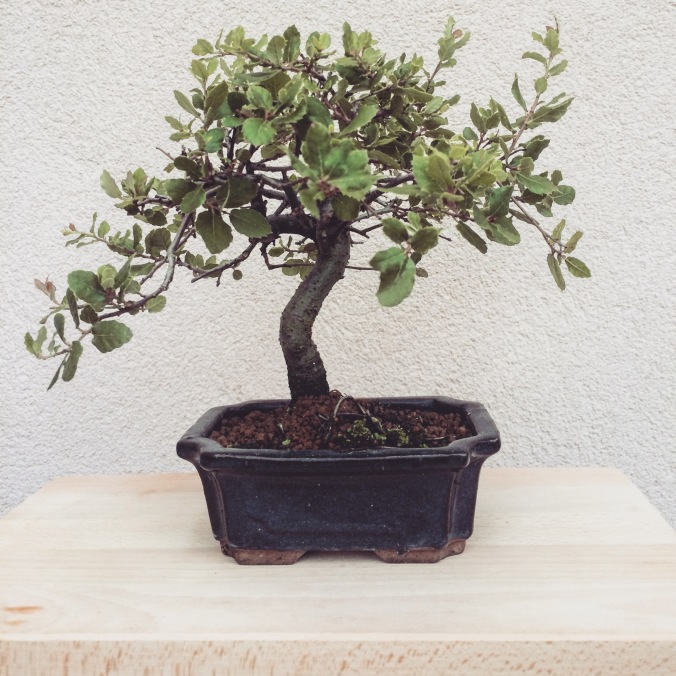
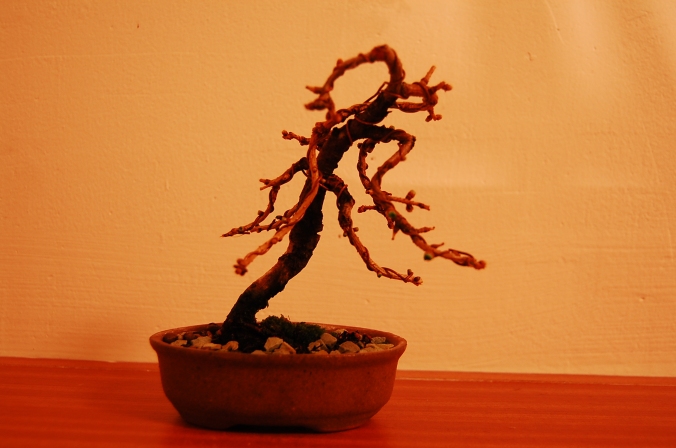
 This was selected as the front; the most curves !) . This will need some winter protection so it will be placed in a colder corridor with no direct sun.